
Alright folks, listen up! If there’s one sound that can drive a sane person absolutely bonkers, it’s the relentless drip… drip… drip of a leaky tap. Not only is it annoying, but it’s also a colossal waste of water and money. As a seasoned plumber, I’ve seen more leaky taps than I’ve had hot dinners, and let me tell you, most of the time, it’s a pretty straightforward fix you can tackle yourself.
So, before you reach for the phone to call me (though I’m always happy to help!), let’s walk through how you can silence that pesky drip.
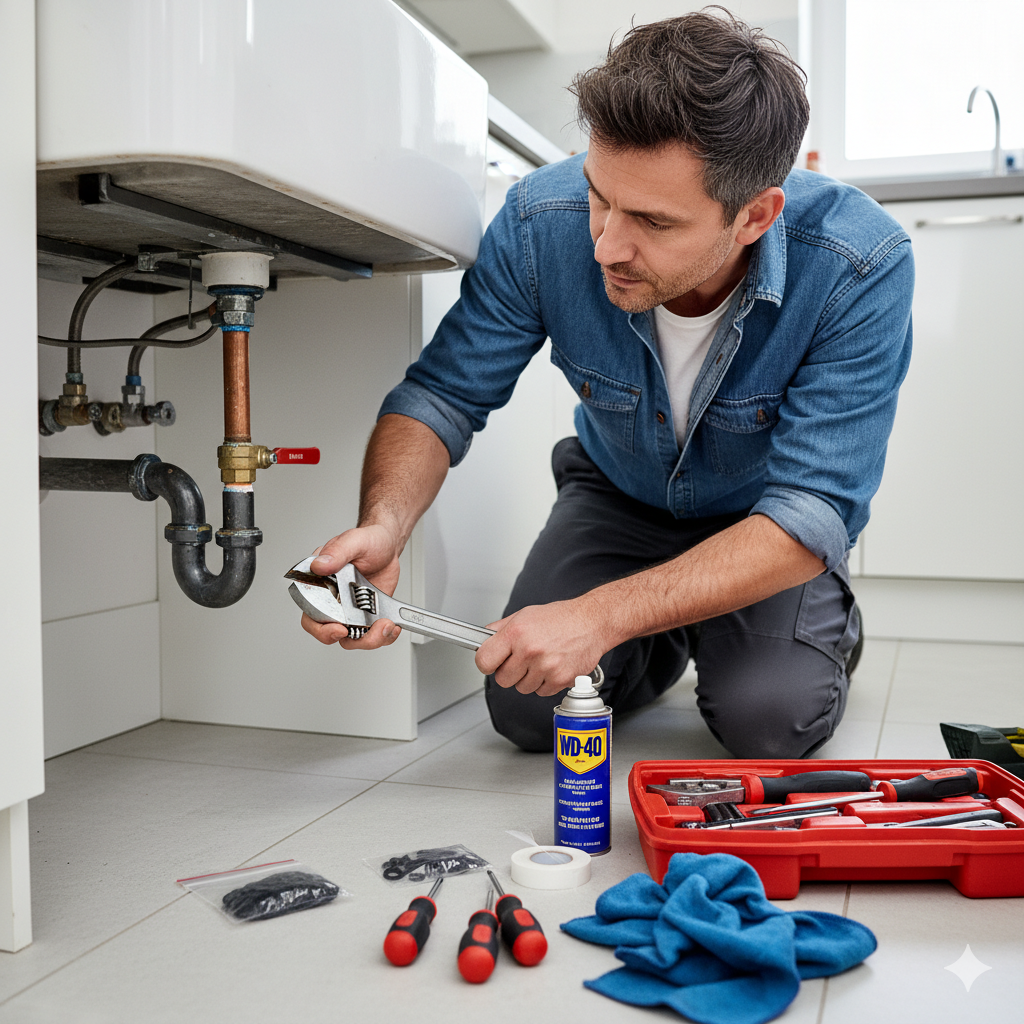
What You’ll Need: The Plumber’s Toolkit (DIY Edition)
Before you dive in, gather these essentials:
- Adjustable wrench: Your best friend for tightening and loosening nuts.
- Screwdriver set: Flathead and Phillips, depending on your tap.
- Replacement washers/O-rings: This is often the culprit! Make sure you get the right size for your tap.
- PTFE (Teflon) tape: Great for sealing threads.
- Rag or old towel: For catching drips and cleaning.
- Penetrating oil (optional): For stubborn, seized screws.
- New ceramic disc cartridge (for ceramic disc taps): If you have a more modern tap.
Step-by-Step: Fixing Dripping Tap
1. Turn Off the Water!
This is crucial. Locate the isolation valves under the sink (usually red and blue for hot and cold) and turn them clockwise until they’re fully closed. If you can’t find them, you’ll need to turn off the main water supply to your house. Then, open the tap to drain any remaining water.
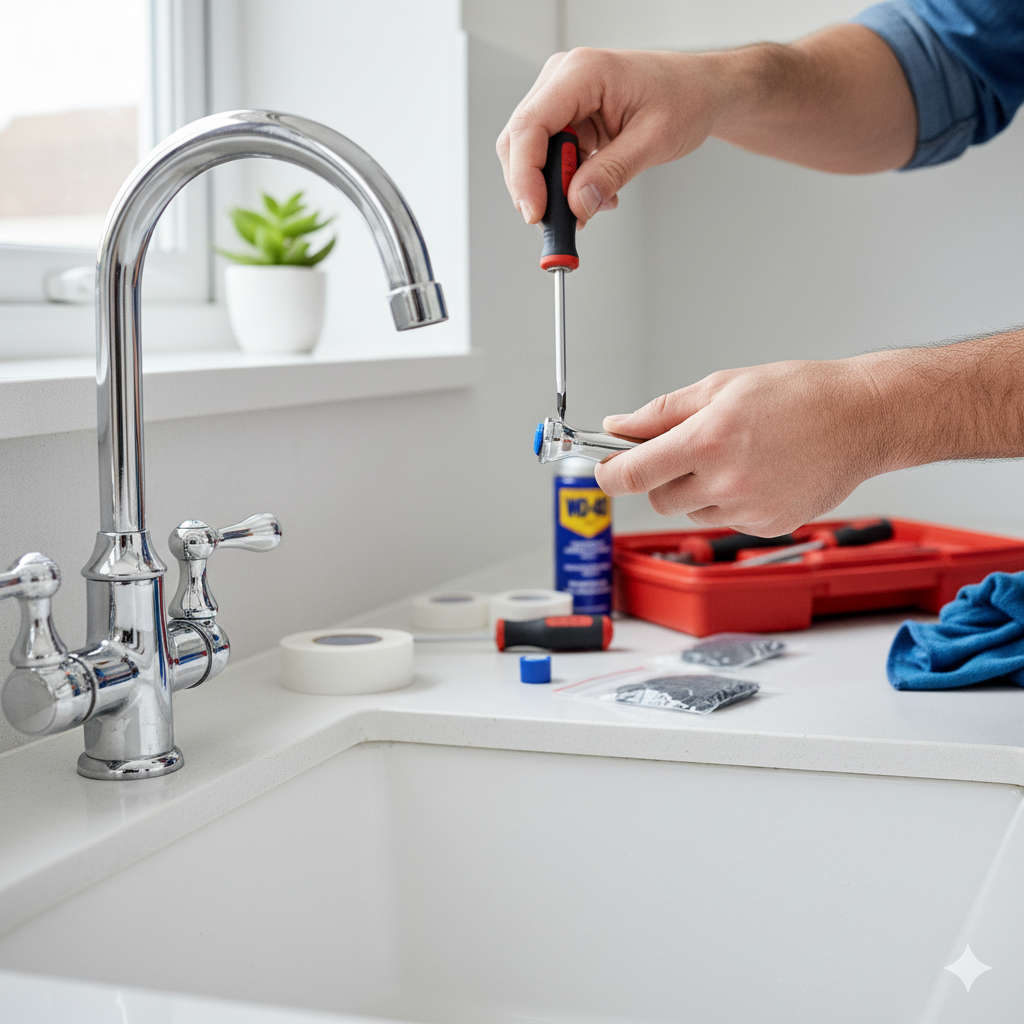
2. Identify Your Tap Type
This is where things can vary slightly. Most domestic taps are either:
- Compression Taps: These have two handles, one for hot, one for cold, and use rubber washers to seal.
- Ceramic Disc Taps: More modern, often single-lever mixer taps, and use ceramic discs to control flow.
3. Disassembly – Compression Tap
- Remove the Decorative Cap: Pop off the small decorative cap on top of the tap handle (it might be hot/cold coloured). This usually reveals a screw.
- Unscrew the Handle: Use your screwdriver to remove the screw, then lift off the handle.
- Remove the Gland Nut/Packing Nut: You’ll see a hexagonal nut. Use your adjustable wrench to carefully loosen and remove it. This exposes the spindle.
- Extract the Spindle: Pull out the spindle. At the bottom, you’ll find the rubber washer.
4. Replace the Washer(s) / O-Ring(s)
- For Compression Taps: Remove the old, worn-out rubber washer and replace it with a new one of the exact same size. There might also be a smaller O-ring on the spindle shaft – replace that too if it looks worn.
- For Ceramic Disc Taps: Once you’ve removed the handle, you’ll typically find a large cartridge held in place by a retaining nut. Carefully unscrew this nut and lift out the cartridge. You’ll need to replace the entire ceramic disc cartridge with a new one that matches your tap model.
5. Reassembly
Reverse the disassembly steps!
- Carefully put the spindle (with new washer/O-ring) back into the tap body.
- Tighten the gland nut/retaining nut with your wrench – don’t overtighten, but make it snug.
- Reattach the handle and screw it back in.
- Pop the decorative cap back on.
6. Test Your Work
Slowly turn the water supply back on (either at the isolation valves or the main stopcock). Open the tap and then close it completely. Cross your fingers and watch for drips! If it’s still dripping, you might need to tighten something a little more or double-check that you used the correct size washer/cartridge.
A Few Extra Tips from the Pro:
- Take Photos: As you disassemble, snap a few pictures on your phone. It’s a lifesaver when you’re trying to remember how everything goes back together!
- Don’t Force It: If something feels stuck, a little penetrating oil can help with seized screws. But never force components – you could damage your tap.
- Keep Spares: If you fix one tap, it’s a good idea to keep a few spare washers and O-rings of common sizes handy.
- Consider Upgrading: If your tap is ancient and constantly giving you grief, sometimes the best fix is a shiny new tap!
There you have it! With a little patience and the right tools, you can conquer that annoying drip and enjoy a silent, water-saving home. If you run into any snags or if your tap continues to leak after your best efforts, don’t hesitate to give a professional like me a call. Sometimes, a job just needs that extra bit of experience. Happy plumbing!